
Metal Embossing & Ornament Making | 40–60 Minutes
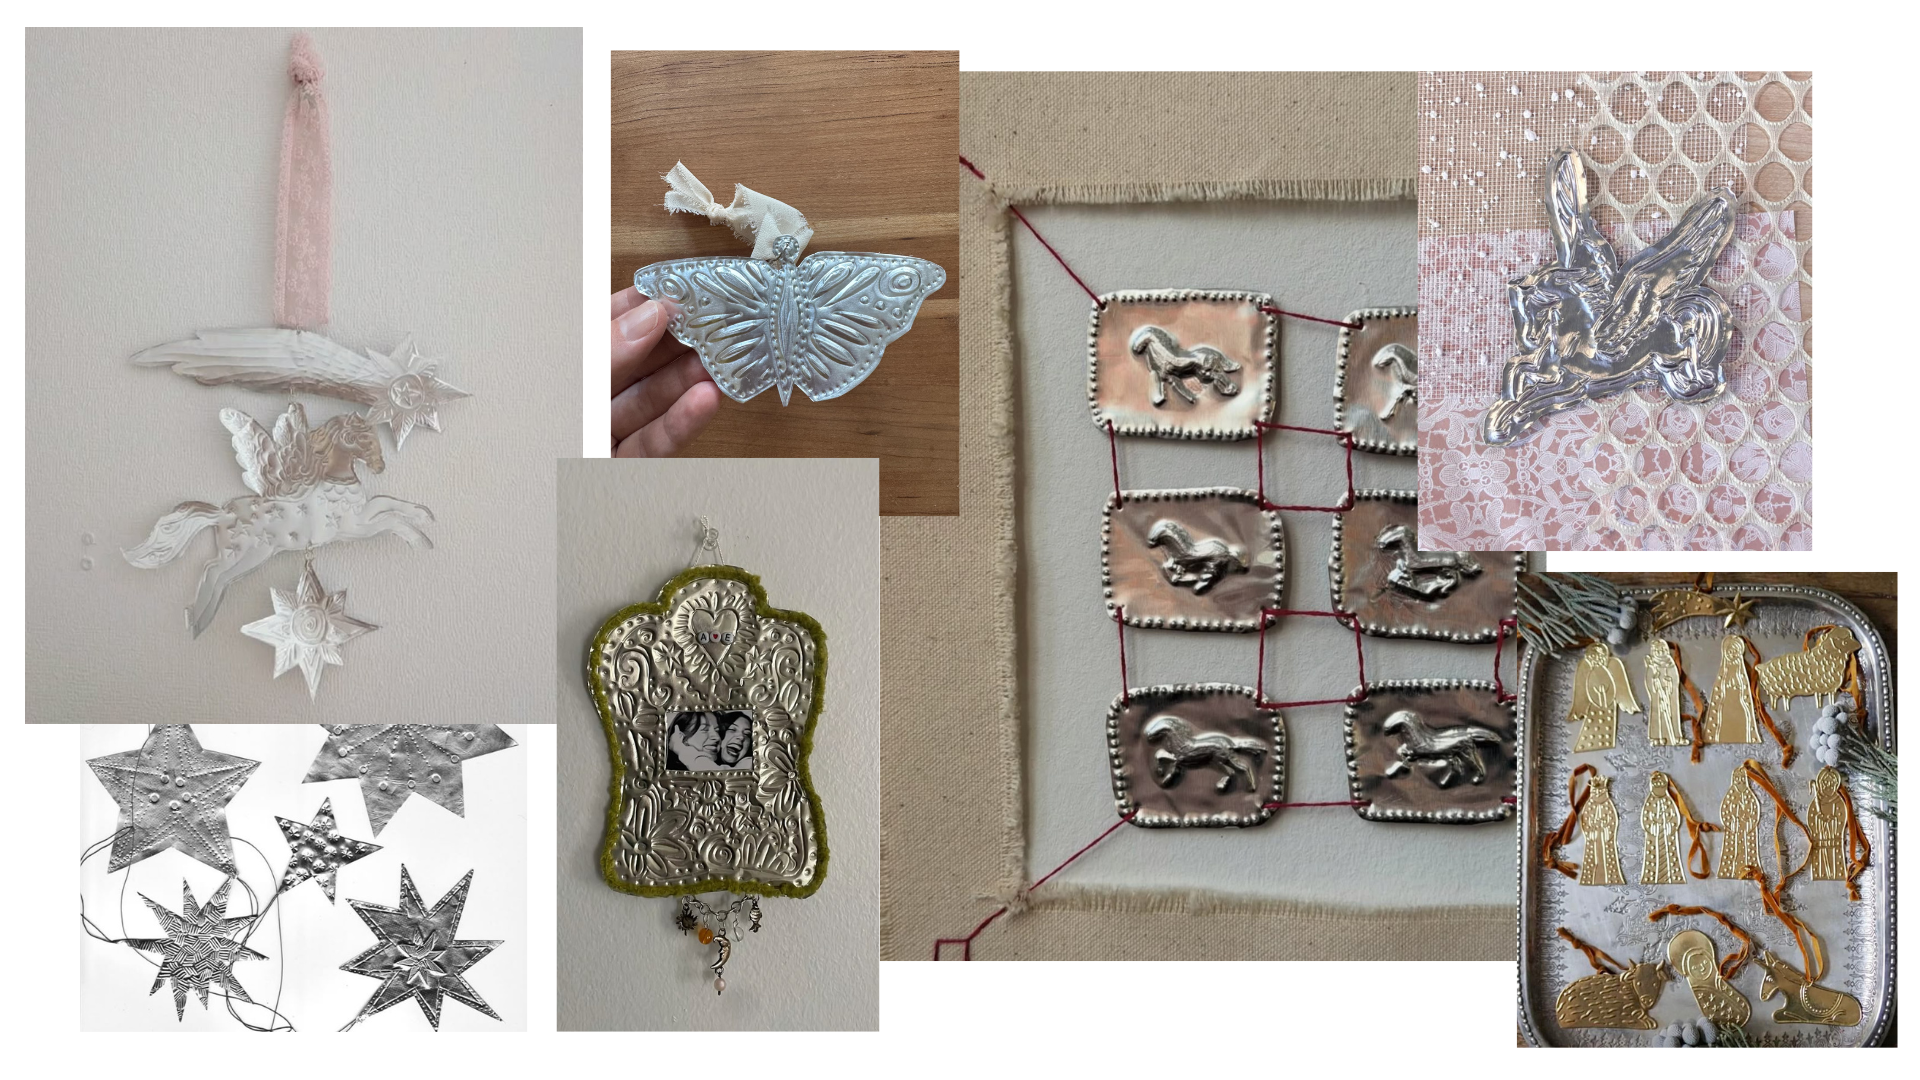
What's on Your Tray
Pencil
Fine-point pen
Silver foil sheet
Gold foil sheet
Embossing tool
Tracing paper
Assorted Christmas ribbons
Gold & silver cords
Soft embossing mat
At the Shared Table
Find these tools in the glass jar.
Scissors
Tape
Hole punch
01 — Design
Start by thinking about what you'd like to create. It could be a festive ornament, little celestial charm, or decorative motif. Sketch your design onto tracing paper using a pencil. Keep in mind that your finished piece will be cut out along its outline.
02 — Prepare Your Foil
Place your foil sheet on top of the soft embossing mat. Position your tracing paper over the foil and secure it with a little tape to keep everything in place.
03 — Trace and Impress
Using the embossing tool, gently trace over your design, applying enough pressure to transfer the lines onto the foil underneath. Once finished, carefully remove the tracing paper to reveal your embossed design.
04 — Give It Dimension
Flip your foil sheet over and use the embossing tool to press along selected areas from the reverse side, creating a raised, three-dimensional effect on the front.
Play with pressure:
Light pressure: Creates delicate lines, subtle textures, and finer details.
Firm, controlled pressure: Produces deeper impressions and more pronounced raised areas.
Experiment with embossing from both sides to create a beautiful balance of raised and recessed details.
05 — Cut It Out
Once you're happy with your design, use the scissors at the shared table to carefully cut along the outer edges of your ornament. Take your time around small details and curved shapes. The foil edges may be sharp.
06 — Make It Hang
Use the hole punch to create a small hole near the top of your ornament.
Choose your favorite Christmas ribbon, thread it through the hole, and tie a knot or bow to create a decorative hanger.
07 — A Little Extra…
Use the gold and silver cords to connect multiple ornaments at different lengths and create your own hanging mobile.
Play with spacing, layering, and balance to make your metallic pieces appear to float.
08 — Your Silver Lining
Your handmade foil creation is ready to shine! Hang it on a tree, display it as a decorative piece, or gift it to someone special.
A Few Things to Keep in Mind
Always work on top of the soft embossing mat to achieve clean impressions.
Start with gentle pressure and gradually increase it. Too much force may tear or puncture the foil.
Embossing from both sides helps create depth and dimension.
Avoid placing fine details too close together, as the foil may become fragile.
Be mindful of sharp edges when cutting and handling your finished piece.
For hanging mobiles, experiment with different cord lengths to create movement and visual balance.
A Little Extra Help
Need a visual guide or some inspiration? Try searching these on YouTube, Pinterest, or TikTok:
Learn the Basics
Metal foil embossing for beginners
How to emboss aluminum foil by hand
Metal repoussé and chasing techniques
How to create raised metal embossing
DIY embossed metal ornaments
Find Your Inspiration
Vintage embossed tin ornaments
Scandinavian metal Christmas decorations
Mexican tin art ornaments
Handmade celestial hanging mobiles
Gold and silver foil ornament designs
Made something you love? Tag @arttastingroom so we can see your creation!