
Botanical Incense Making | 40–60 Minutes + Drying Time
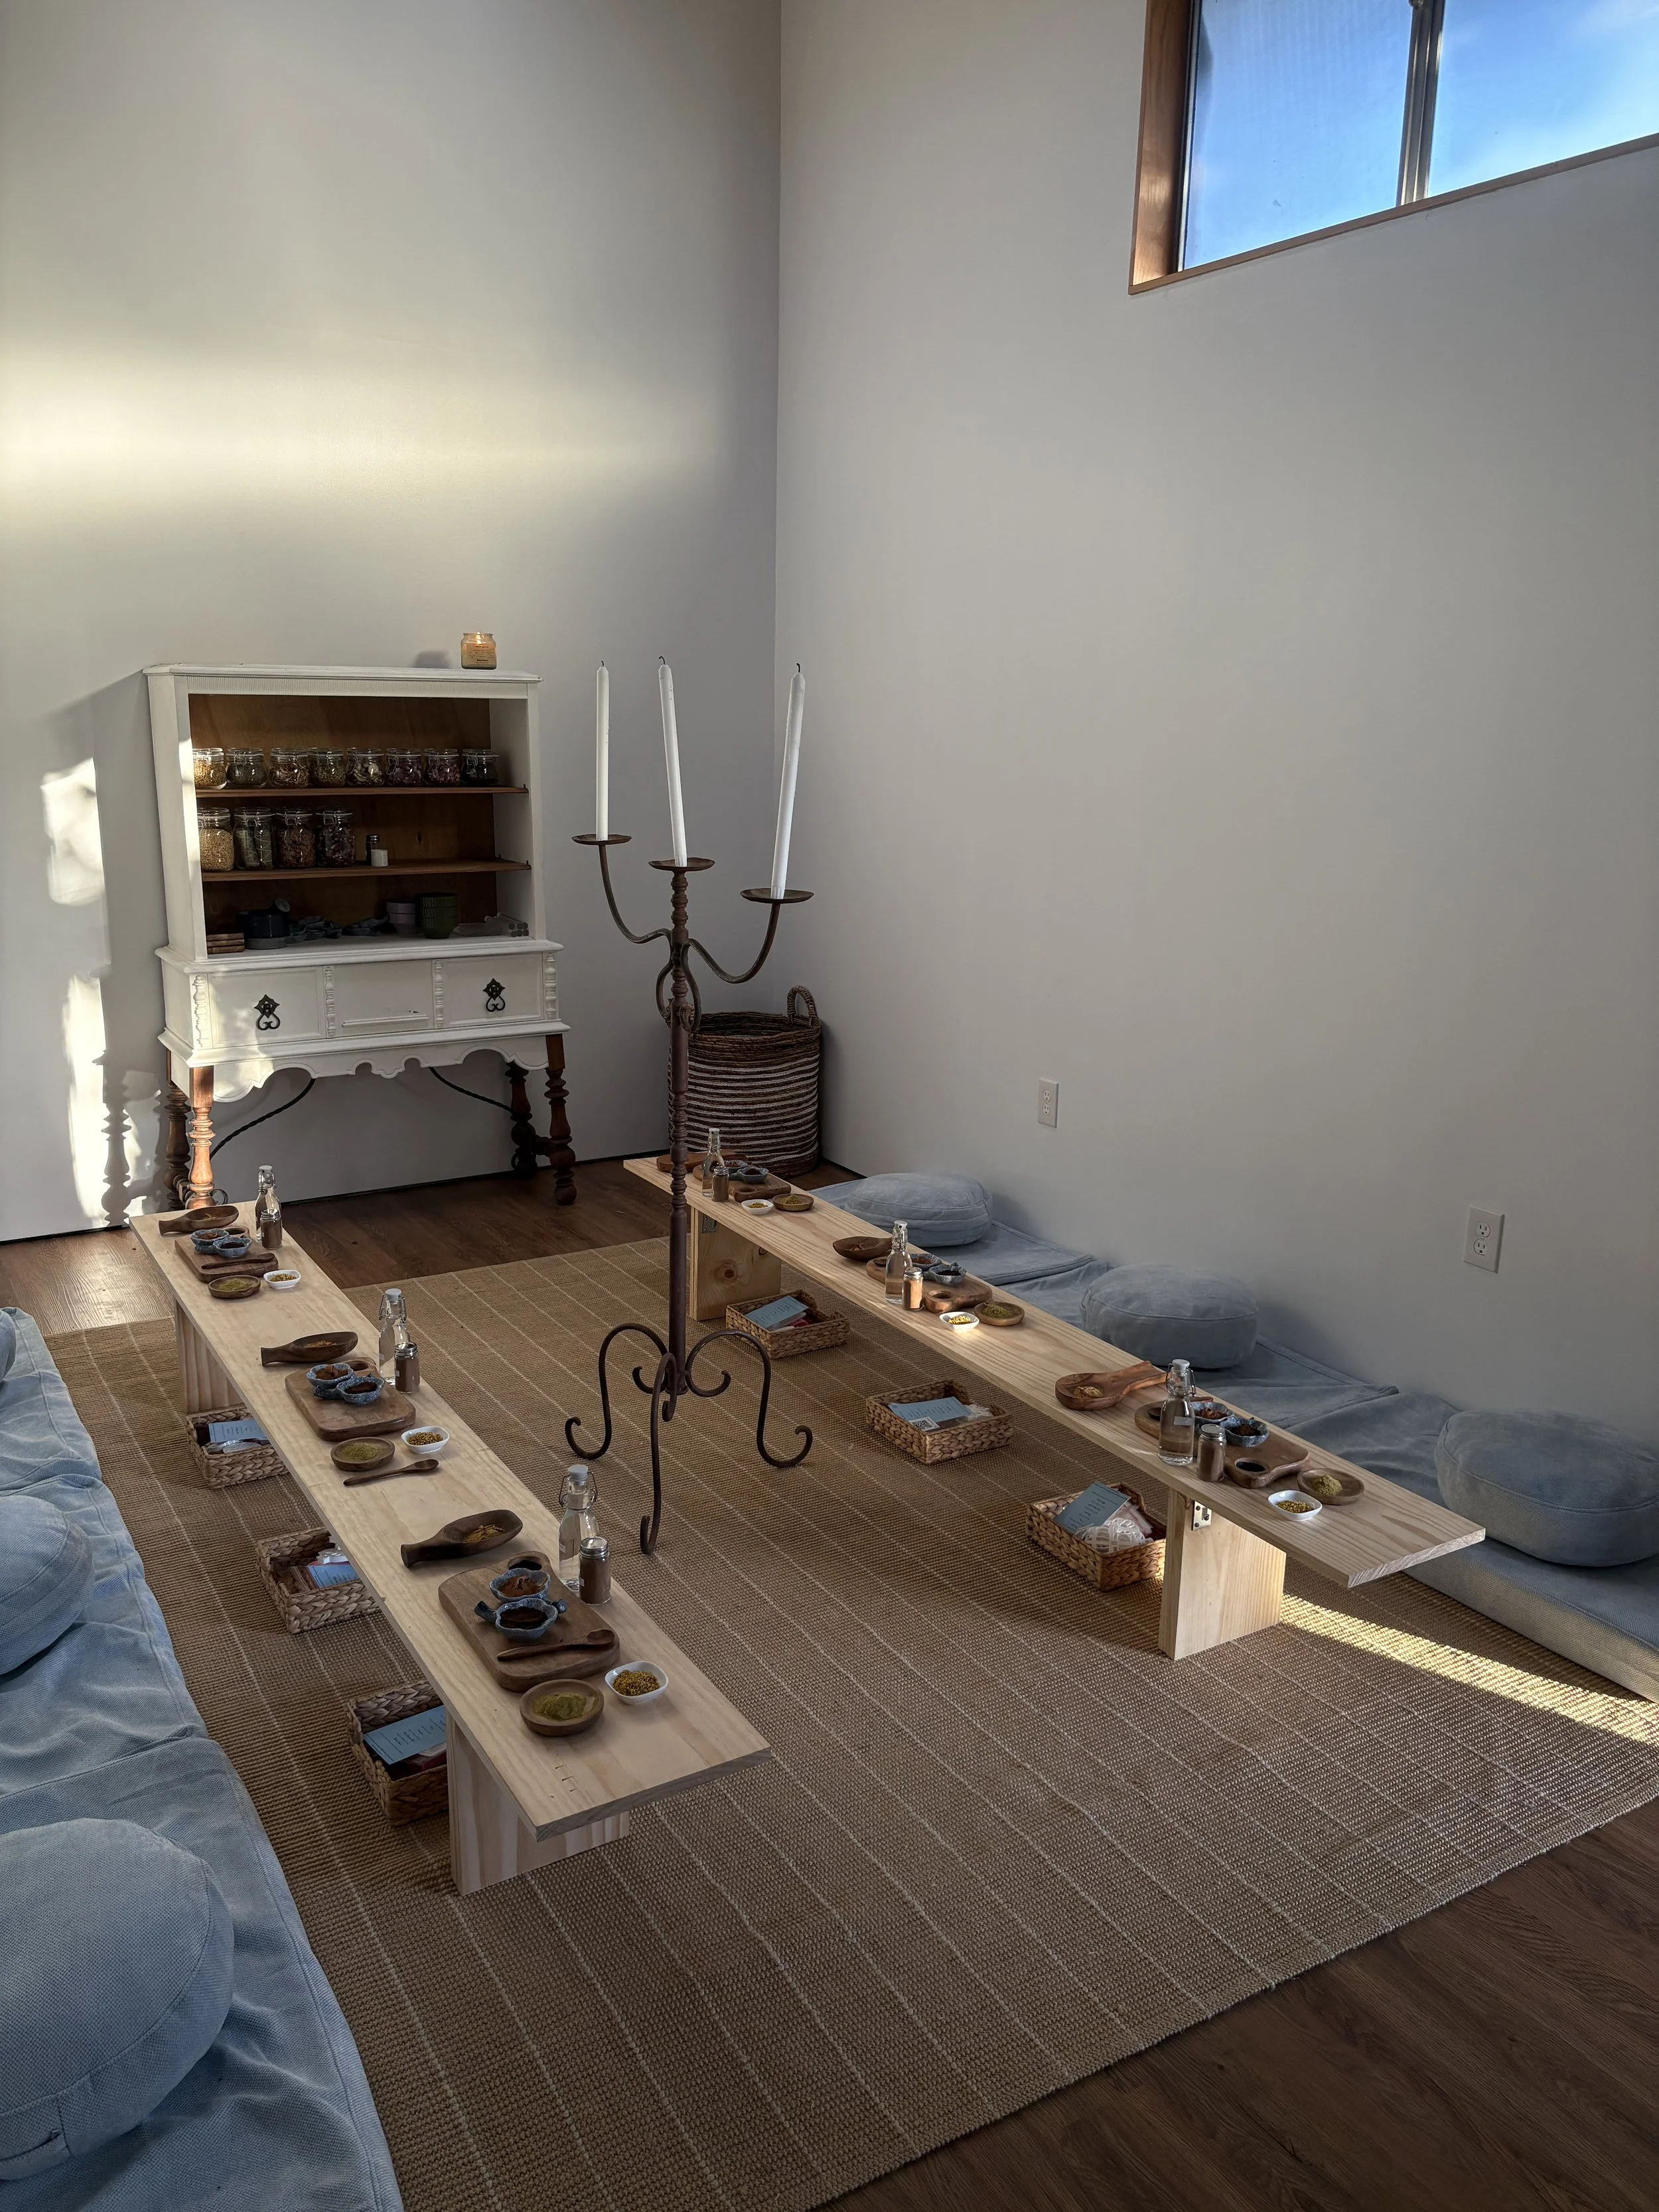
What's on the Table
Makko powder (natural incense binder)
Art Tasting Room's signature fall botanical selection
Mixing bowl & spoon
Water
Wooden board
In the Basket
Fall-themed cookie cutters
Assorted cookie cutters & molds
Botanical ingredient guide
Clear rolling board
Clear rolling stick
Mini bakery bag
On Your Way Out
Ask a team member for your complimentary incense holder & golden scoop.
Let's Get Baking
01 — A Little Spice
Get to know our seasonal botanicals. Take in the warm, earthy aromas and see which ones catch your attention. Think of it as your own little autumn fragrance bar.
02 — Mix Things Up
Time to create your own scent! Pick your favorite botanicals from our prepared selection and mix to your liking, following the proportions provided in the botanical guide.
Gradually add makko powder and small amounts of water, stirring until the mixture starts coming together like dough.
Fun fact: Makko is a natural incense binder that helps your creations hold their shape and burn.
03 — Work the Dough
Get your hands in there! Knead the mixture until it's smooth, soft, and easy to shape. Not too sticky, not too crumbly.
04 — Roll With It
Place your dough on the clear rolling board and use the rolling stick to flatten it into an even layer, roughly 3–4 mm thick.
Try to keep the thickness consistent so your incense cookies dry evenly.
05 — Cookie Cutter Club
Explore the assorted cookie cutters and molds in the basket. Pick your favorites and press out your shapes.
Gather the leftover dough, roll it out, and go again. Nothing goes to waste!
06 — Good Things Take Time
Carefully transfer your incense cookies onto the wooden board, leaving a little space between each piece.
Heads up: Your cookies need to air-dry completely before burning, usually around 7–14 days or longer, depending on thickness and humidity. Keep them somewhere dry and well-ventilated until fully hardened.
07 — Wrap It Up
Your little batch of handmade incense is almost ready to go!
Take your mini bakery bag for packaging, and don't forget to ask a team member for your complimentary incense holder and golden scoop on your way out.
Perfect for keeping or gifting!
One little thing: Keep your fresh incense uncovered and well-ventilated while drying. Save the bakery bag for when your cookies are completely dry.
P.S. Incense is for burning, not eating! Burn only when completely dry, in a suitable heat-resistant incense holder, away from flammable materials. Never leave burning incense unattended.
Oops? No Big Deal.
Too crumbly? Add a drop or two of water.
Too sticky? Let it rest or add a little dry mix.
Cracking while rolling? Knead a little longer.
Shapes falling apart? Try rolling slightly thicker.
Still feeling soft? Give them more time to dry.
A Little Extra Help
Need some inspiration? Try searching these on YouTube, Pinterest, or TikTok:
Learn the Basics
How to make incense with makko powder
Handmade botanical incense for beginners
How to shape and dry incense
Natural incense making techniques
Find Your Inspiration
Botanical incense cookie designs
Japanese kneaded incense
Autumn-inspired incense blends
Handmade incense gift ideas
Made something cute? We wanna see!
Tag @arttastingroom on Instagram or TikTok to share your creations.