
Soft Pastel Exploration | 45–60 Minutes
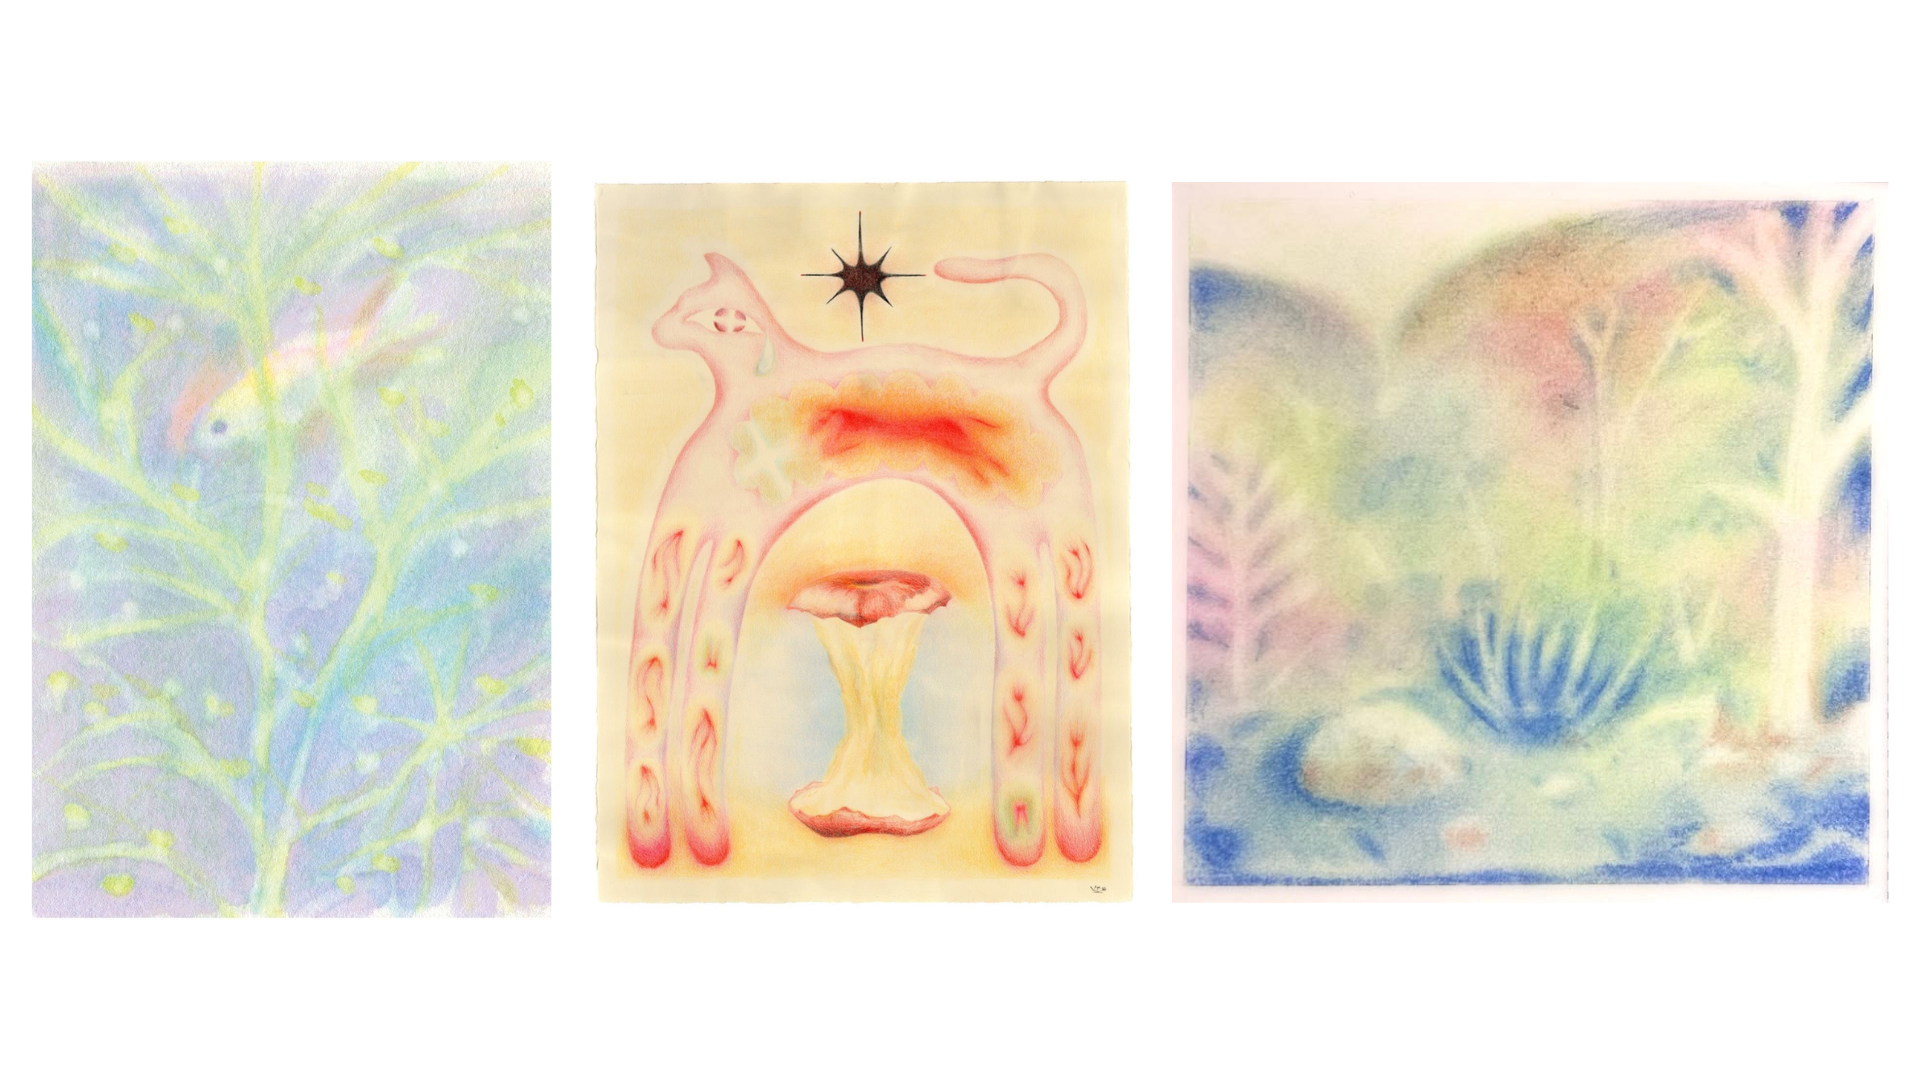
What's on Your Tray
Pencil
Fine-point pen
sketch paper
Soft pastel paper
5 blending sponges
S blending brush
M blending brush
L blending brush
At the Shared Table
Find this tool in the glass jar.
Eraser
At the Wash Sink
Paper towels for cleaning your brushes and sponges
Let's Get Blending
01 — A Little Inspiration
Before getting started, think about what you'd like to create. Need room to experiment? Ask a team member for unlimited sketch paper to explore your ideas.
Soft pastels are especially lovely for creating hazy atmospheres, gentle transitions, and expressive textures.
02 — Sketch It Out
Use your pencil to lightly sketch your composition onto the pastel paper. Keep your lines gentle so they won't show too prominently beneath the pastel. Or skip the sketch altogether and let the colors guide you。
03 — Start With Color
Begin applying your chosen pastel colors to the paper. Start with lighter layers and gradually build up the intensity. Try placing different colors next to or on top of one another to see how they interact.
04 — The Art of Blending
Use your sponges and blending brushes to soften edges, mix colors, and create smooth transitions.
Blending sponges: Perfect for spreading colors across larger areas and creating soft, cloudy textures.
Large brush: Great for blending backgrounds and broad areas of color.
Medium brush: Ideal for shaping forms and smoothing color transitions.
Small brush: Best for delicate details, subtle shading, and precise blending.
Experiment with different amounts of pressure to discover new effects.
05 — Layer, Blend, Repeat
Continue adding colors and blending until you're happy with your composition.
Try contrasting crisp, unblended marks with soft, hazy areas to give your artwork depth and dimension.
Remember, sometimes the most interesting effects happen by accident.
06 — Keep Your Colors Fresh
Before switching between colors, gently wipe your blending brushes and sponges with a dry paper towel, available at the wash sink.
This helps prevent unwanted color mixing and keeps your artwork looking fresh.
07 — The Finishing Touches
Take a look at your artwork from a little distance. Would you like to add more color, soften an edge, or introduce a few sharper details?
Once you're happy, your pastel masterpiece is complete.
Handle your artwork carefully to avoid smudging and keep it flat or protected until you're ready to display it.
A Few Things to Keep in Mind
Start with light layers and gradually build up color.
Avoid pressing too hard when blending. Gentle movements create softer transitions.
Try using a different sponge for each color family to keep your colors clean.
Don't overblend! Leaving some visible pastel marks adds texture and character.
Avoid touching the artwork directly, as natural oils from your fingers can affect the pastel.
Never blow pastel dust off your paper. Gently tap away loose particles instead.
A Little Extra Help
Need a visual guide or some inspiration? Try searching these on YouTube, Pinterest, or TikTok:
Learn the Basics
Soft pastel techniques for beginners
How to blend soft pastels with brushes
Soft pastel layering techniques
How to create smooth pastel gradients
Soft pastel painting tips and tricks
Find Your Inspiration
Dreamy soft pastel landscapes
Hazy pastel painting aesthetic
Soft pastel cloud studies
Abstract pastel color blending
Ethereal soft pastel artwork
Made something you love? Tag @arttastingroom so we can see your creation!