
Rubber Stamp Carving & Printmaking | 60–75 Minutes
What's on Your Tray
Pencil
Fine-point pen
Rubber carving block
Tracing paper
Sketch paper
2 wooden stamp blocks
Small V-shaped carving tool
Large U-shaped carving tool
Print paper
At the Shared Table
Find these tools in the glass jar.
X-Acto knife
Eraser
At Reception
Available to share. Just ask our team!
Stamp inks
Super glue
Let's Get Carving!
01 — Sketch It Out
Start by drawing your design on the sketch paper. Keep it simple or get creative with shapes, patterns, and details.
02 — Trace Your Design
Once you're happy with your sketch, use a pencil to trace your design onto the tracing paper.
03 — Transfer to Rubber
Place the tracing paper pencil-side down onto your rubber carving block. Use the flat side of a wooden stamp block to gently rub the back of the tracing paper until your design transfers onto the rubber.
04 — Ready, Set, Carve!
Time to bring your design to life!
Small V-shaped tool: Perfect for outlines, fine lines, and intricate details.
Large U-shaped tool: Best for clearing larger areas of rubber.
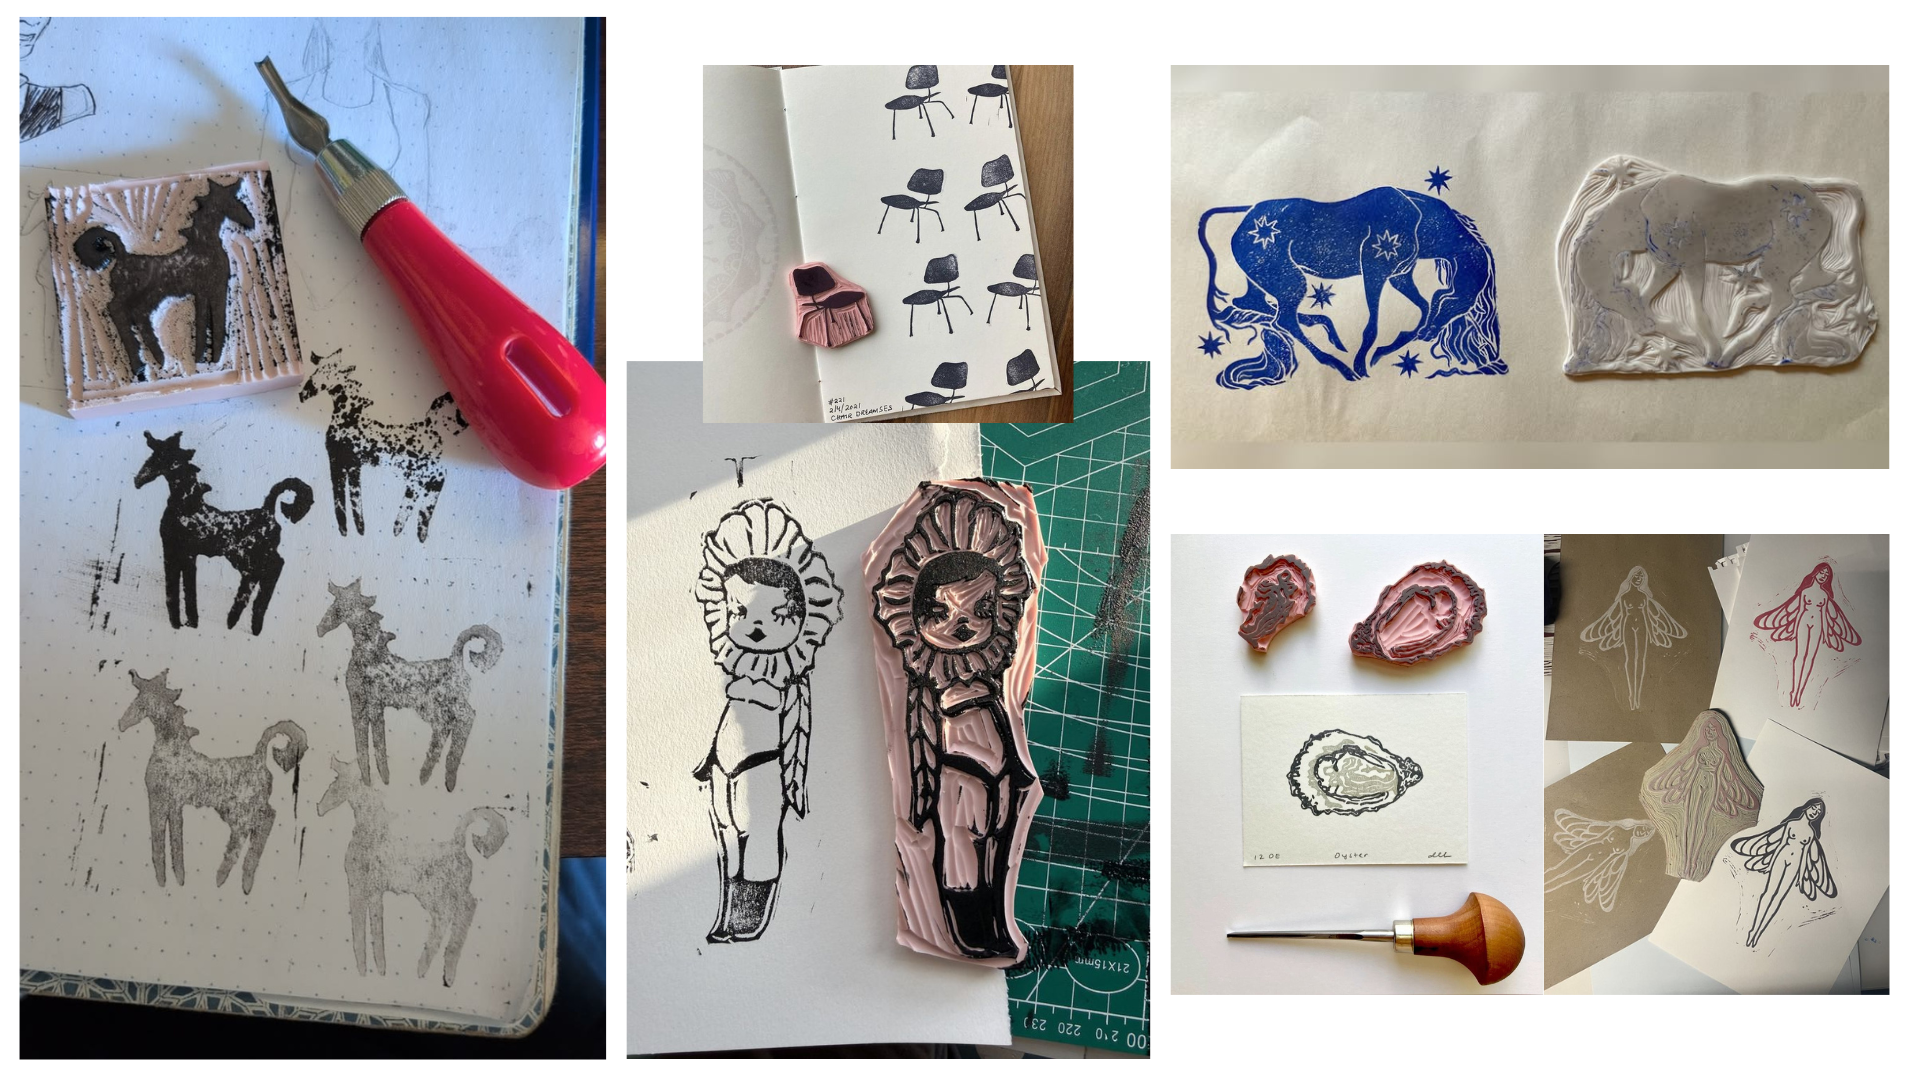
Remember: You're carving away the areas you don't want to print. The raised, uncarved areas are what will pick up ink and appear in your final stamp.
05 — Cut It Out
Once you've finished carving, use the X-Acto knife from the shared table to carefully cut around your design, separating your stamp from the remaining rubber.
06 — Give It a Handle
Bring your finished rubber stamp to reception to use the super glue. Attach it to one of your wooden stamp blocks, with the carved design facing outward. Allow the glue to set before using.
07 — Ink & Impress
Choose your favorite ink color at reception. Apply ink evenly to the raised surface of your stamp, press firmly onto printing paper, and lift straight up to reveal your print.
08 — One More Time…
You have two wooden stamp blocks so why stop at one? Repeat the process to create your second design.
A Few Things to Keep in Mind
Always carve away from your hands and fingers.
Start with shallow cuts. You can always remove more rubber, but you can't put it back!
Keep the areas you want to print raised and carve away the background.
Take your time with the details. Small cuts can make a big difference.
Helpful Tutorials
Block Printing for Beginners How to Carve Your First Stamp
How to make a linocut stamp! Full block printing process for beginners | Printmaking art tutorial
Made something you love? Tag @arttastingroom so we can see what you've created!