
Rubber Stamp Carving & Printmaking | 60–75 Minutes
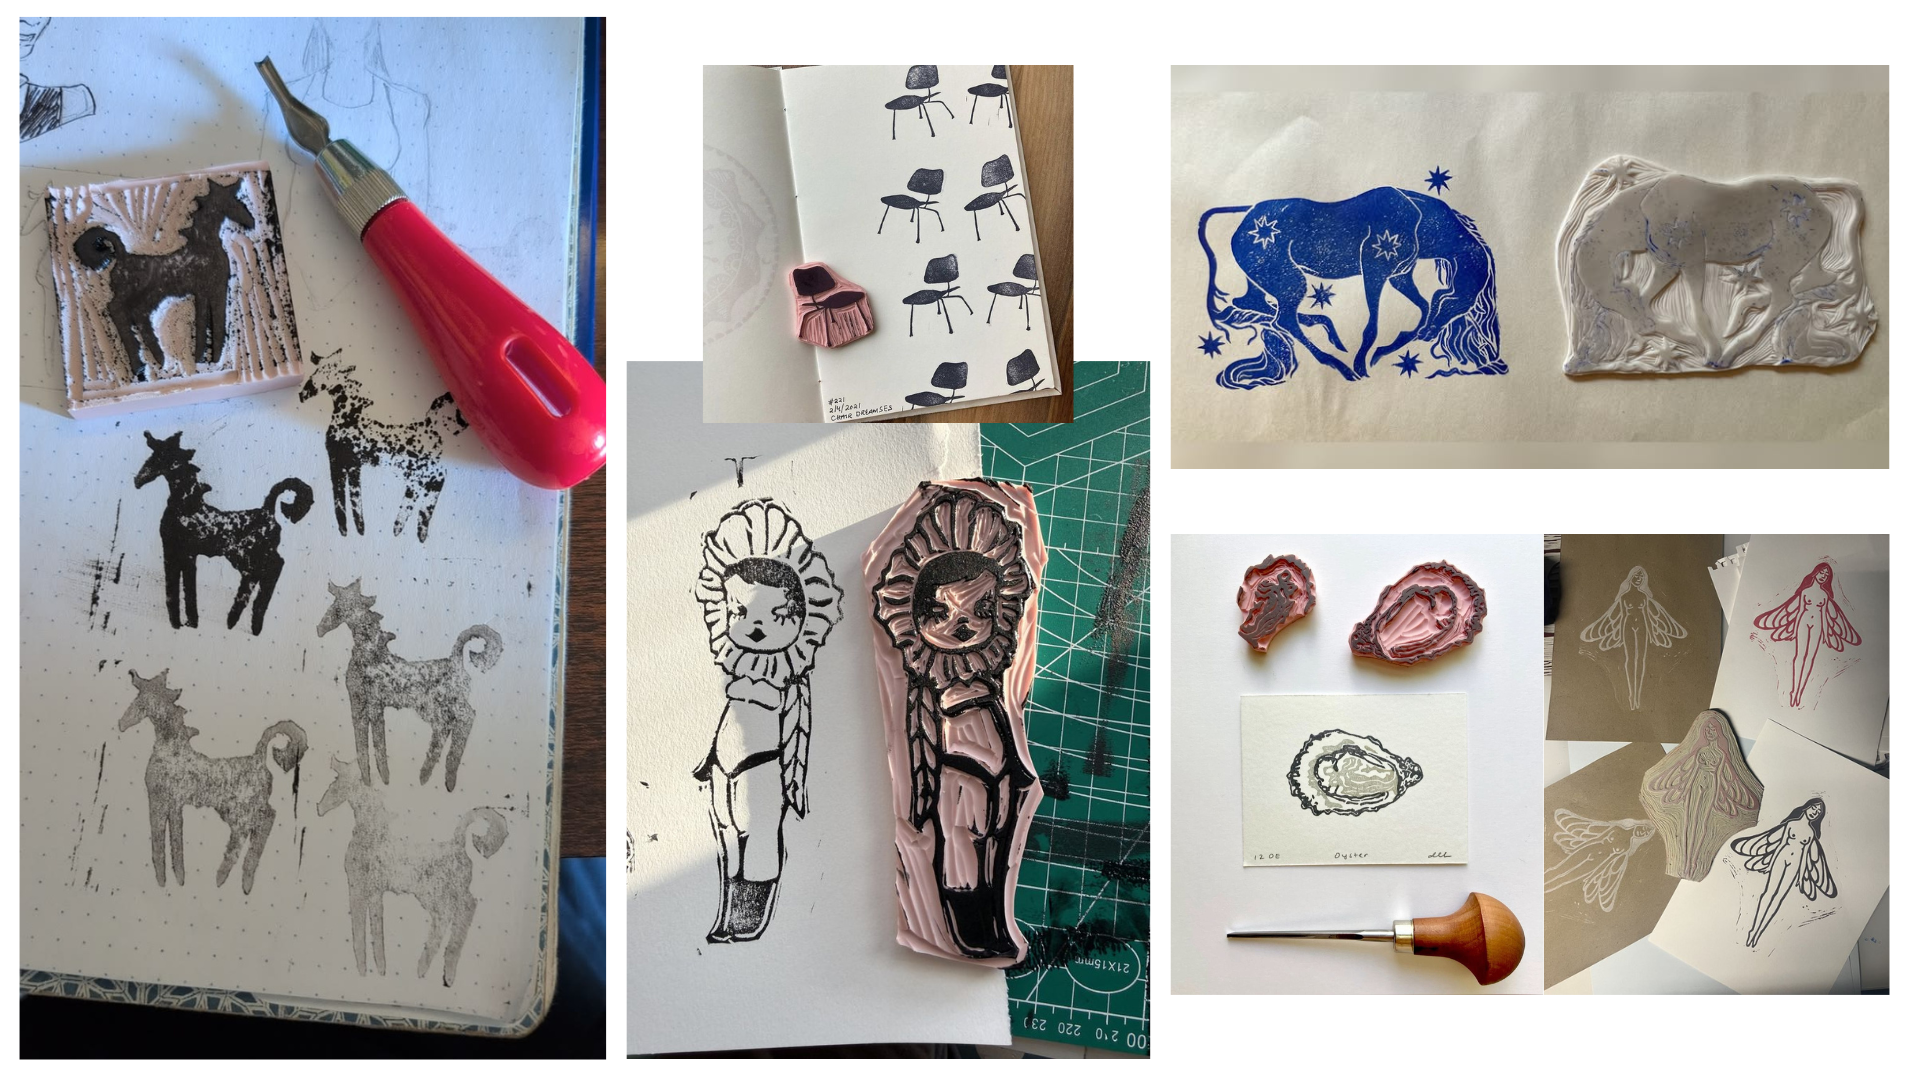
What's on the Table
Soft rubber carving blocks
Rubber stamp carving tools (V & U blades)
Wooden stamp mounts
Pencil & tracing paper
Ink pads in assorted colors (shared at the reception desk)
Printing paper & test sheets
Stamp-mounting adhesive (shared at the reception desk)
Carving mat
Let's Get Printing!
01 — Doodle Something
Start with a sketch! A little flower, your initials, a funky shape, or something completely random. Keep the lines bold and simple if it's your first time carving.
02 — Flip It & Transfer It
Trace your design with a pencil, flip the paper facedown onto your rubber block, and rub the back to transfer it.
Heads up: Your stamp prints in reverse, so any letters or words need to be backward on the block!
03 — Get to Know Your Tools
Two little tools, two different jobs:
V-shaped blade: For fine lines, outlines, and details.
U-shaped blade: For clearing out larger spaces.
The golden rule: Whatever you carve away stays blank. Whatever you leave raised gets printed.
04 — Carve It Out
Start with the outlines, then work your way into the bigger areas.
Keep your cuts shallow and take your time. Rotate your block as you go, and always carve away from your hands and body.
Rubber Stamps: How to Carve & Print Step by Step
05 — The First Reveal
Time for the fun part! Press your carved block onto an ink pad, then stamp it firmly onto a test sheet.
06 — A Little Touch-Up
Got some unexpected lines? That's normal.
Look at your test print, find any areas you want to clean up, and carefully carve away the extra bits. Test again until you're happy.
07 — Put It on Wood
Clean and dry your carved stamp, then attach it to a wooden block using the provided mounting adhesive shared at the reception desk.
Make sure everything is lined up. Ask our team for a hand if you need one.
08 — Stamp Everything (Almost)
Try different ink colors, create repeating patterns, or make little prints to take home. Cards, letters, journals, gift wrap — your stamps have a whole life ahead of them.
09 — Fresh Off the Press!
Give your stamps a quick clean and pack them up. You just made something you can print with again and again.
Oops? No Big Deal.
Print looking patchy? Try adding more ink and pressing evenly.
Random marks showing up? Carve away any unwanted raised areas.
Carved too much? Work with what's left or start a new design.
Details disappearing? Try thicker lines and simpler shapes.
Words printing backward? Mirror your lettering before carving!
A Little More Inspo
Rubber Stamp Carving Basics — Splitcoaststampers
Rubber Stamp Carving Tutorials — YouTube
Show us what you've been printing!
Tag @arttastingroom on Instagram or TikTok to share your work.